2546- CROCHET BABY HAT

Copyright © 2020, Emi Harrington (Do not give away or sell this pattern, copyright protected.) .This pattern may be printed for your personal use only. You may not in any form, reproduce, transmit, give away or distribute this pattern, including but not limited to images, diagrams and text, through any venue, including photocopying, other electrical or mechanical means, recording, or any other information storage and or retrieval system. Permission is granted to sell your finished garments.
You can find me here:
HOW TO SOFTEN STIFF YARN:
MY FREE VIDEO TUTORIALS ON YOUTUBE:
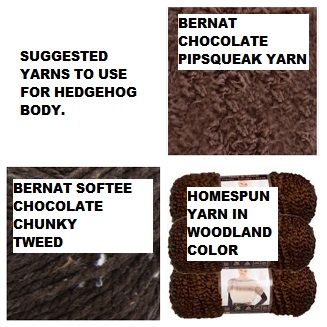
MATERIALS:
Worsted weight yarn
6 mm crochet hook
Yarn needle
My main focus with designing is to produce a pattern that requires the least amount of instructions, for ease of construction.
You can find ALL my patterns on Ravelry: https://www.ravelry.com/designers/emi-harrington Including over 380 FREE patterns.
INSTRUCTIONS: Works sideways, as a long rectangle.
1. Copyright: Emi Harrington, please do not share
in any form.
Chain 15.
2. Single crochet in the 2nd stitch from the hook,
and each stitch of the chain.
3. *Chain 1 and turn, working in the back side of
the stitch only, single crochet in each stitch
across the row.
Repeat from * for 2 more rows.
4. Chain 2 and turn, double crochet in each stitch
across the row.
5. Chain 2 and turn, *front post dc in the next
stitch, single crochet in the next stitch, repeat
from * across the row.
Demo of front post dc: https://www.youtube.com/watch?v=9-Zaq1MuAVQ
6. Chain 1 and turn, single crochet in each stitch
across the row.
7. *Chain 1 and turn, working in the back side of
the stitch only, single crochet in each stitch
across the row. Repeat
from * for 3 more rows.
8. Repeat step 4, 5, 6, and 7 until the work
measures approx. 14-15 inches. Fold the work
in half, bringing the foundation row and the last
row together, slip stitch to join and form a
tube. Then single crochet across the open
end of the tube, skipping 4 stitches between
each sc to gather up and close the top of the
hat. Thread the yarn endinto a needle, weave
through the last row of stitches, pull to close
the top of the hat. Weave yarn ends into
the finished work.
 Learn how to
CROCHET A POM POM here: